
Skinit
Digital and Print
As a key contributor at Skinit, a company specializing in custom and licensed skins and cases for electronics and gaming devices, I was responsible for the end-to-end process of bringing products to market. I focused on developing engaging visual assets, including product imagery (skinner creation) that drove e-commerce sales on platforms like Shopify and Amazon.
I also translated product concepts into physical reality by developing final print products (CAD creation) that maintained brand consistency and met production specifications. My role involved not just creative execution, but also strategic analysis of product and licensing data to optimize digital merchandising strategies. To ensure project success, I managed multiple product launches simultaneously, streamlined workflows, and maintained brand consistency across all digital assets.
-
I assisted in the development of Computer-Aided Design (CAD) files for final print products, ensuring that all digital designs were accurately translated into physical goods. This process involved meticulous attention to detail to meet production specifications, maintain brand consistency, and prepare designs for manufacturing.
Tools used: Photoshop, Illustrator, vinyl cutting machine. -
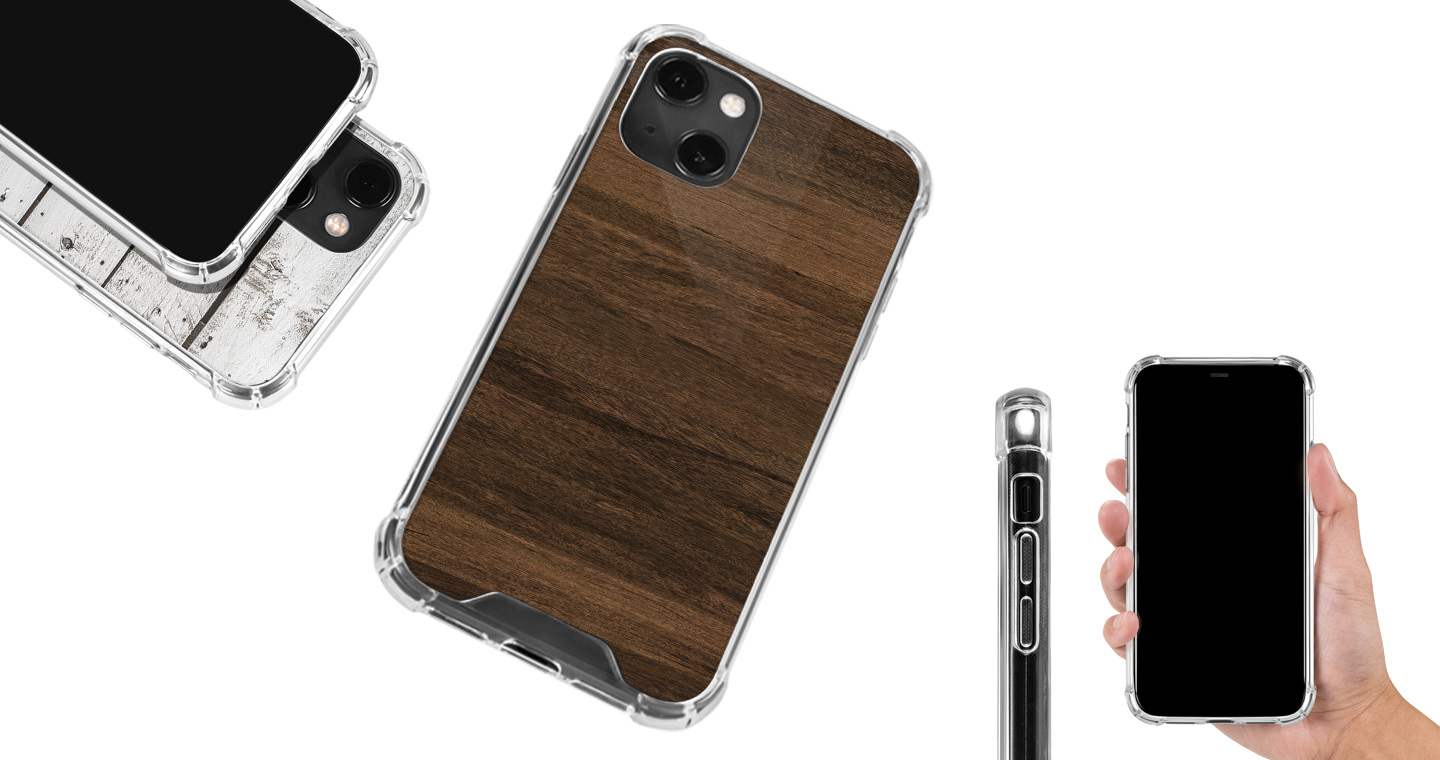
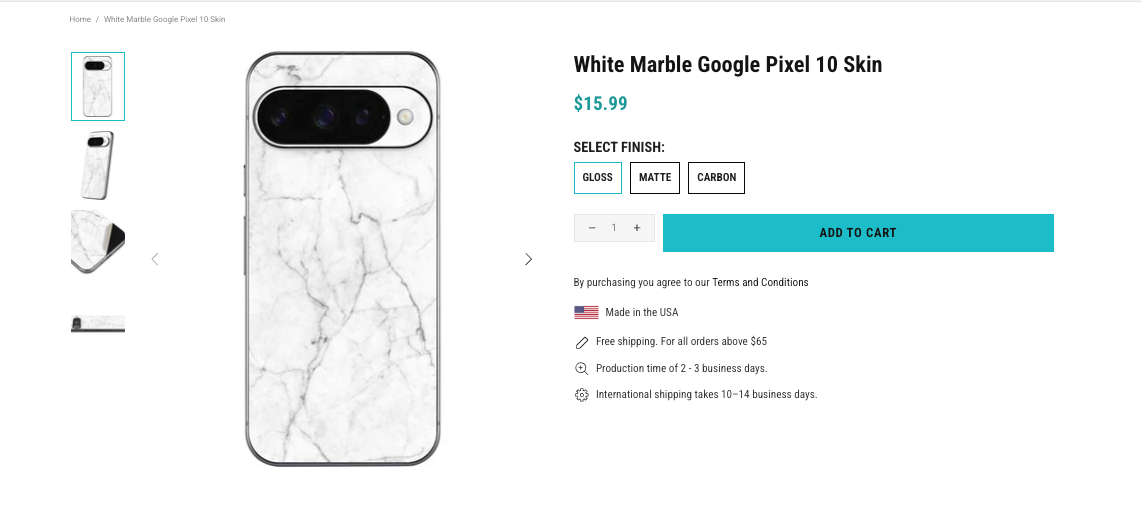
I was responsible for Skinner creation, which involved designing high-quality digital product images for e-commerce platforms. These images were crucial for showcasing products in an appealing way, helping to drive conversions and sales on sites like Shopify and Amazon.
Tools Used: Photoshop, Illustrator, Java Script
-
My work in licensing involved analyzing data and brand guidelines to inform digital merchandising strategies. I ensured all product designs and promotional content adhered to the specific requirements of various brand and character licenses, guaranteeing compliance while optimizing product presentation.
Skinner Creation
Creating product imagery, or "skinners," is a core part of my design process. It involves a detailed workflow that begins by taking the final, approved product design and digitally applying it to a high-fidelity template of the target device. My goal is to create a photorealistic representation that showcases the product's aesthetic and fit. This means paying close attention to every detail, from the subtle curves of a gaming console to the precise placement of a logo on a phone, ensuring the final image is not only visually appealing but also a true-to-life representation that builds customer confidence and drives engagement on e-commerce platforms.
The Skinner Creation Process: From Photoreal Image to Javascript
This three-part process outlines how to create a "Skinner," which is a digital asset for devices. The first step involves photoreal file creation, where a physical device is either photographed or a 3D image is used to create a raw image file. This image is then cleaned up and color-corrected in a program like Photoshop. Next, Photoshop actions are used to create a CAD. This involves selecting an appropriate "archetype" from a CMS and recording a sequence of actions that transform the image and place it onto the archetype. Finally, the conversion to JavaScript involves using a script to automatically convert the Photoshop action into JavaScript, which allows the asset to be used on the web and other digital platforms.
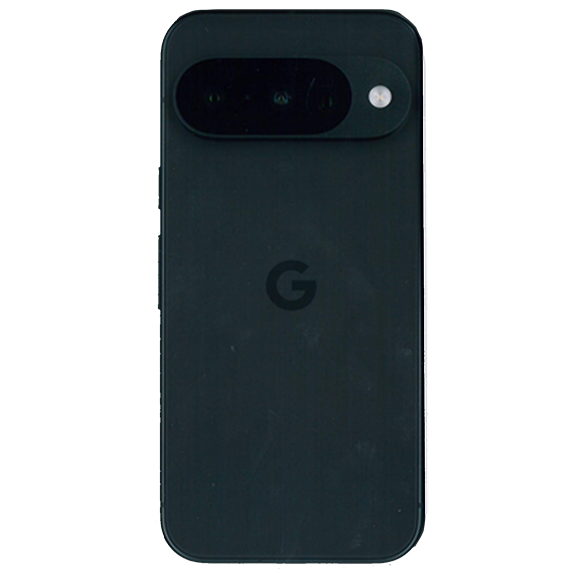

Step One: Photoreal File Creation
The initial phase of the Skinner creation process, referred to as "Photoreal File Creation," involves capturing and preparing images of the device. This can be done by taking photographs or using existing 3D images. After the initial capture, the images undergo a cleanup process, often using software like Adobe Lightroom Classic or Photoshop. The goal of this step is to adjust elements like shadows, white balance, and saturation before the file is exported as a TIFF, PSD, or JPEG.
Step Two: Creating the CAD
The next step is to create a CAD, or "Photoshop Actions". This process starts with selecting the correct "archetype" from the CMS (Content Management System) for the device. Once the archetype is chosen and the action is being recorded in Photoshop, a consistent formula is followed for every Skinner: open, open, and save as a JPEG. The process involves opening the archetype, opening the photoreal image, and then using a series of transformations like "free transform" to fit the image onto the archetype.
Step Three: Using JavaScript to Create Final Actions
The final step is the "Conversion to Javascript," which is described as a straightforward process of following a list of steps. First, you must save the Photoshop action and then use a script to convert the action file into JavaScript. This script is particularly useful because it handles the complex code for transformations and masks, which would be difficult to write from scratch. The final step is to add arguments to replace the open and save commands in the script, which tells the system which files to open from a table on the system.
The CAD Creation Process for Device Skins and Cases
This process outlines the meticulous creation of a CAD, or Computer-Aided Design, for device skins and cases. The workflow begins with Initial File Setup and Organization, which involves preparing a clean, high-resolution scan of a device and saving it with a specific naming convention. The next phase, Creating the Cut File in Illustrator, is a precise step where the outline of the device is meticulously traced using vector tools. This "cut" file is the CAD itself, containing the exact dimensions and shapes needed for the final product. Finally, this CAD is used to create the Merge Template in Photoshop, a high-resolution CMYK template that is prepared for the application of designs and artwork.
Step One: Initial File Setup and Organization
The first step in the CAD creation process is to get a clean scan of the device, with a light-colored sheet behind it to ensure all details are visible. The image, typically a TIFF file, is then cropped and adjusted for brightness and contrast in Photoshop. This prepared scan is saved with a specific naming convention (SKU_scan.TIFF) and stored in an organized folder structure for the specific device.
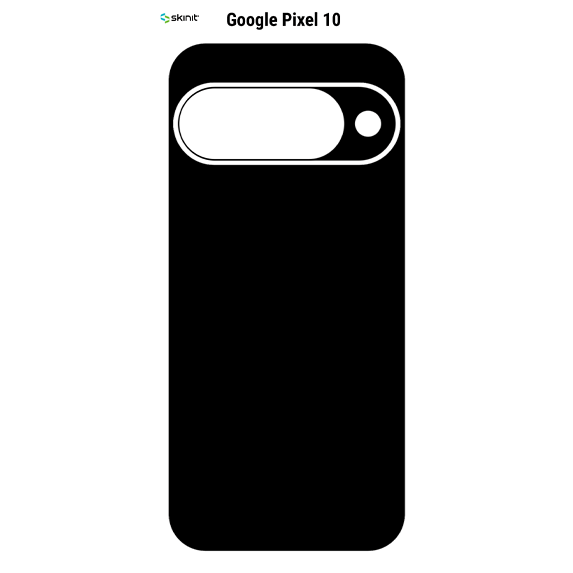
Step Two: Creating the Cut File in Illustrator
After the scan is ready, it is opened in Illustrator, and the layer containing the scan is locked to be used as a guide. On a new layer, the user creates the "cut" file by tracing the device using tools like the ellipse and rectangle tools to create vector paths. A script is then used to automate the creation of a bounding box and provide the dimensions for the merge template. The final cut file is saved as a .AI file in the appropriate folder.
Step Three: Creating the Merge Template in Photoshop
The final step is to create the merge template in Photoshop using the dimensions provided by the Illustrator script. A new file is created with specific settings, including 300 DPI and CMYK color mode. Actions are then run to create the template, and the user selects where art should not be placed using the Magic Wand tool. A label with the SKU and product information is added, and the final PSD file is saved in the device merge templates folder.